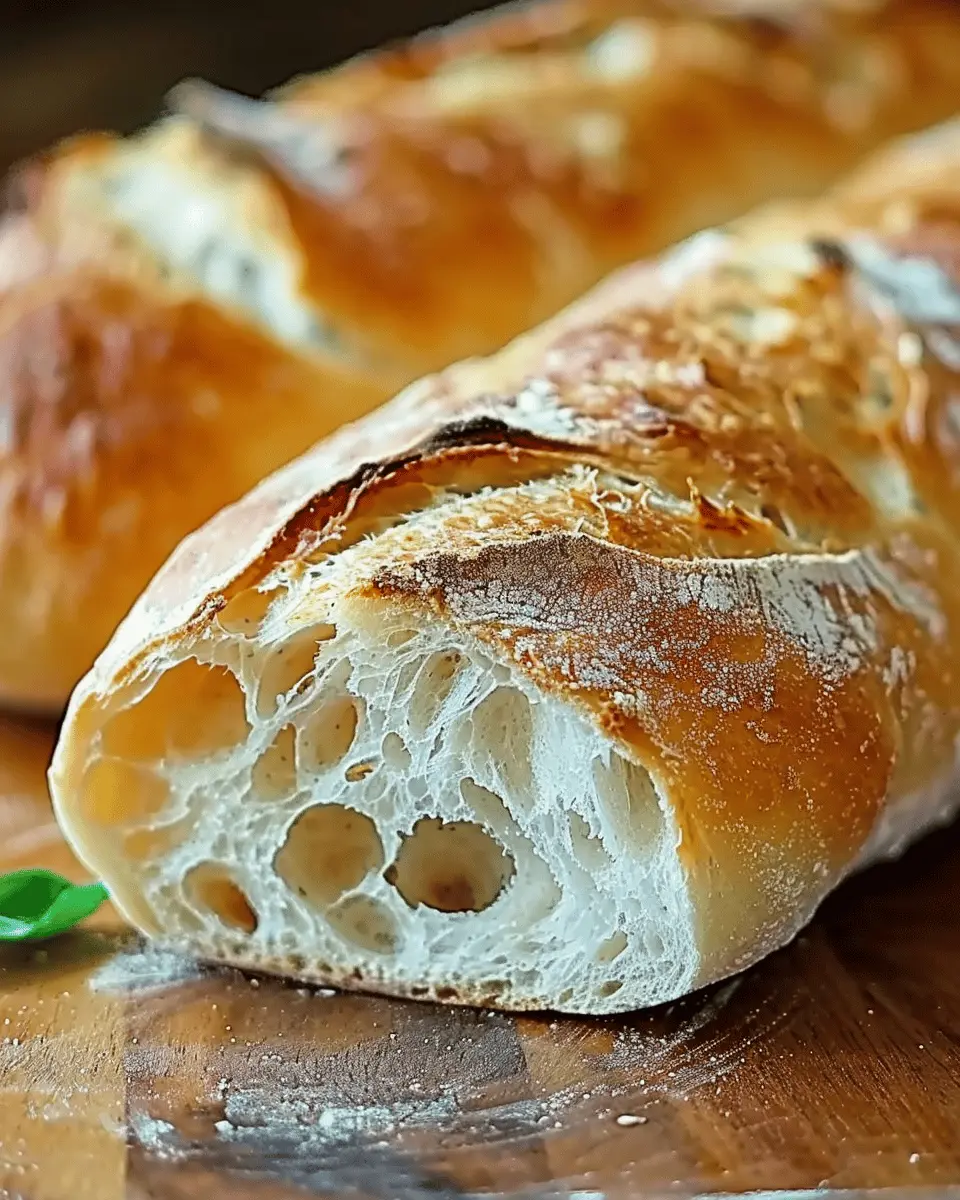
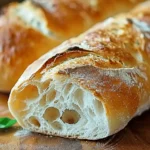
Introduction to Crusty Italian Bread
When it comes to baking, few things are as satisfying as pulling a loaf of crusty Italian bread from the oven, its golden-brown crust crackling under your fingertips. This classic bread isn’t just for show; it’s a must-bake for any home cook looking to elevate their culinary skills and impress friends or family alike. So, why is crusty Italian bread a game changer in your kitchen?
Why Crusty Italian Bread is a Must-Bake
First off, let’s talk about versatility. A loaf of crusty Italian bread can complement any meal—from a simple weeknight dinner to a festive gathering. Picture this: slicing into that warm bread, its interior soft and airy, ready to soak up rich olive oil or act as a vehicle for your favorite spreads. Whether you’re enjoying it with Turkey Bacon and eggs for breakfast or pairing it with roasted vegetables for dinner, there’s no denying it adds a special touch.
Moreover, baking this bread allows you to tap into the rich traditions of Italian cuisine, making you feel connected to centuries of culinary artistry. According to Italian cookery expert Marcella Hazan, bread is the heart of dining in Italy. A crusty Italian bread truly embodies that principle with its satisfying texture and hearty flavor.
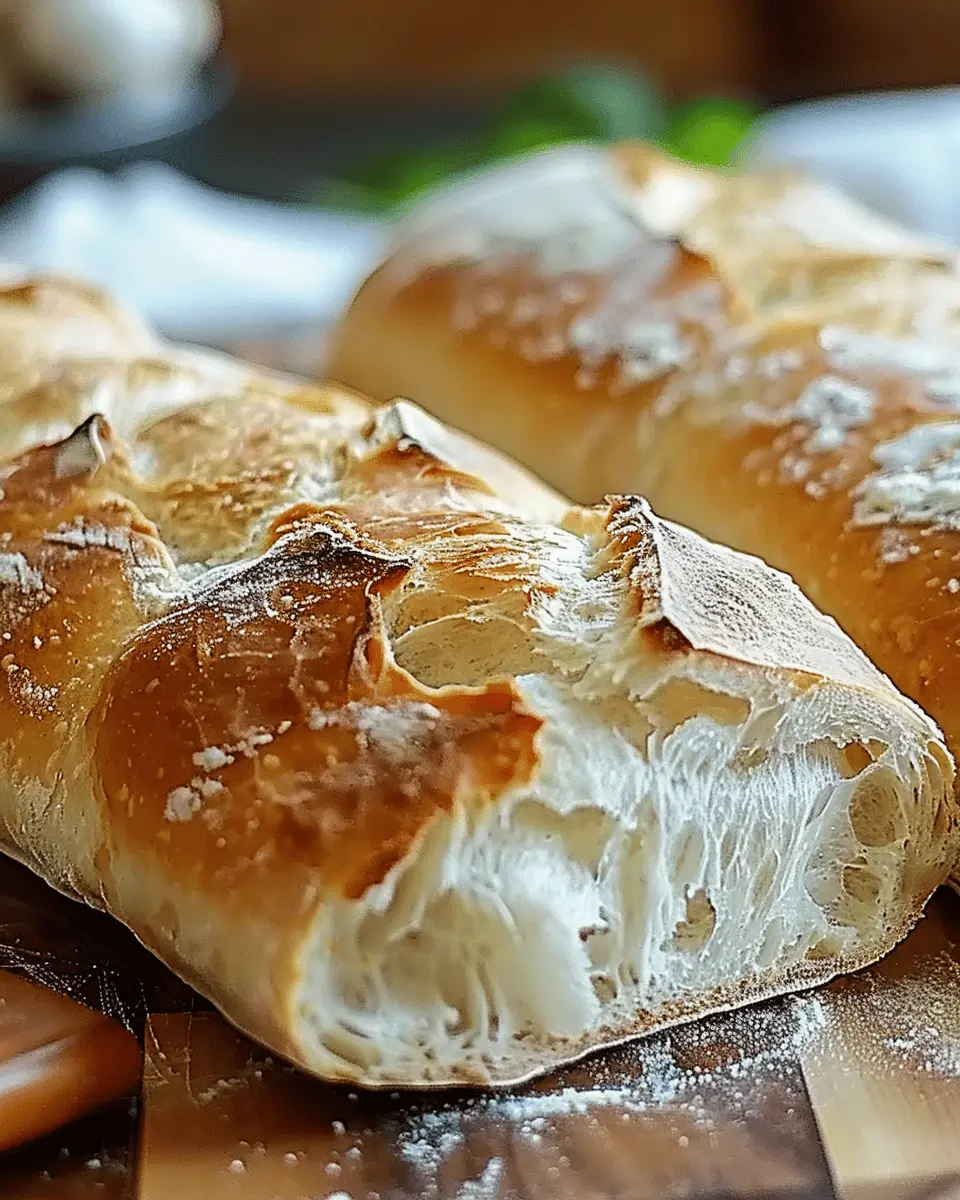
Crafting the Perfect Crust
Creating the perfect crust can seem daunting, but with a few simple techniques, you’ll be well on your way to baking success. The secret often lies in the use of steam during the first few minutes in the oven. When steam is introduced, it helps the dough expand before the crust hardens, giving you that coveted crunchy exterior. If you’re interested in the science behind bread-making, The American Institute of Baking offers insights that can enhance your skills.
In addition, experimenting with ingredients like high-protein flour can deepen the flavor and improve texture. You can even add herbs or spices to give your crusty Italian bread a unique twist. With endless customization options, each loaf can be a new experience!
As you embark on this baking adventure, remember that the best part of making crusty Italian bread is the joy of sharing it with others. So, roll up your sleeves, invite friends over, and let that kitchen aroma fill your home! You won’t just be serving bread; you’ll be creating memories—all in a loaf!
Ingredients for Crusty Italian Bread
Essential ingredients for a classic crusty loaf
When it comes to baking crusty Italian bread, the key is in using the right ingredients. Don’t worry; you likely already have most of them in your kitchen. Here’s a friendly rundown of the essentials:
- Flour: Use high-protein bread flour for that beautiful chew and structure. It helps develop gluten, which is crucial for a great rise.
- Water: You’ll want it to be warm, around 110°F. This temperature activates the yeast effectively, ensuring a good rise.
- Yeast: Both active dry yeast and instant yeast work well. Just make sure it’s fresh for the best results!
- Salt: Essential for flavor, salt also strengthens the dough. Sea salt is a fantastic choice.
- Olive Oil: A drizzle of good-quality olive oil adds flavor and tenderness to your loaf.
- Sugar: Just a teaspoon helps feed the yeast, promoting a beautiful rise and browning.
For more baking tips, consider checking resources like King Arthur Baking or The Kitchn for expert advice on flour types and techniques. Enjoy baking your own crusty Italian bread!
Step-by-Step Preparation of Crusty Italian Bread
Making crusty Italian bread at home can be one of the most rewarding culinary experiences. There’s something magical about taking a loaf out of the oven, breathing in that warm aroma, and feeling the crispy crust crackle beneath your fingers. Let’s dive into the steps required to create this delightful bread, ensuring your baking skills rise to new heights!
Activate the yeast
First things first, let’s get our yeast working! In a small bowl, combine about 2 teaspoons of active dry yeast with 1 cup of warm water (around 110°F). Add a pinch of sugar to help feed the yeast. Stir lightly and let it sit for about 5-10 minutes until it becomes foamy. This process, known as activating, is crucial as it ensures you have lively yeast that will help your bread rise beautifully.
Combine the dry ingredients
While the yeast is doing its thing, grab a large mixing bowl and combine 4 cups of all-purpose flour, 2 teaspoons of salt, and any dried herbs or seasonings you desire (like rosemary or oregano for a twist). Mixing these dry ingredients together prior to adding the wet will help ensure an even distribution throughout the dough. Need a refresher on baking techniques? Check out King Arthur Baking for more insights!
Form the dough
Once your yeast is nice and frothy, combine it with the dry ingredients. Use a wooden spoon or your hands to mix everything together until you have a shaggy dough. At this stage, the dough will look a bit rough—that’s exactly what we’re going for. This is a great time to embrace the messiness of cooking!
Knead until perfect
Now comes the fun part—kneading! Transfer your dough onto a lightly floured surface. You’ll want to knead the dough for about 8-10 minutes until it is smooth and elastic. Use the classic push, fold, turn technique, and let your body do the heavy lifting! If you feel your arms getting tired, think about how rewarding that first bite of freshly baked bread will be.
First rise in a warm spot
After kneading, shape your dough into a ball and place it in a lightly greased bowl, covering it with a clean towel or plastic wrap. Set it in a warm area to allow it to double in size—this usually takes about 1 to 2 hours. If your kitchen is chilly, try preheating your oven for just a minute or two, turning it off and placing the dough inside.
Prepare for baking
Preheat your oven to 450°F. Line a baking sheet with parchment paper to avoid any sticky problems later on. Alternatively, if you have a pizza stone, place that in the oven as well, as it helps achieve that perfect crust we all crave.
Shape the loaf
Once your dough has risen, punch it down gently (that’s a stress relief!) and transfer it to a floured surface. Gently stretch and shape it into an oval or round loaf, depending on your preference. Remember, less handling means a lighter loaf—be gentle!
Final rise before baking
After shaping, let your loaf rise on the baking sheet for about 30 minutes. Cover it loosely with a towel. This will give your crusty Italian bread that final boost before heading into the oven.
Make slashes for that artisan look
Right before baking, make several diagonal slashes on the top of the loaf with a sharp knife or a bread lame. This not only looks beautiful but allows steam to escape while baking. You’ll be amazed at how professional these simple cuts make your loaf look!
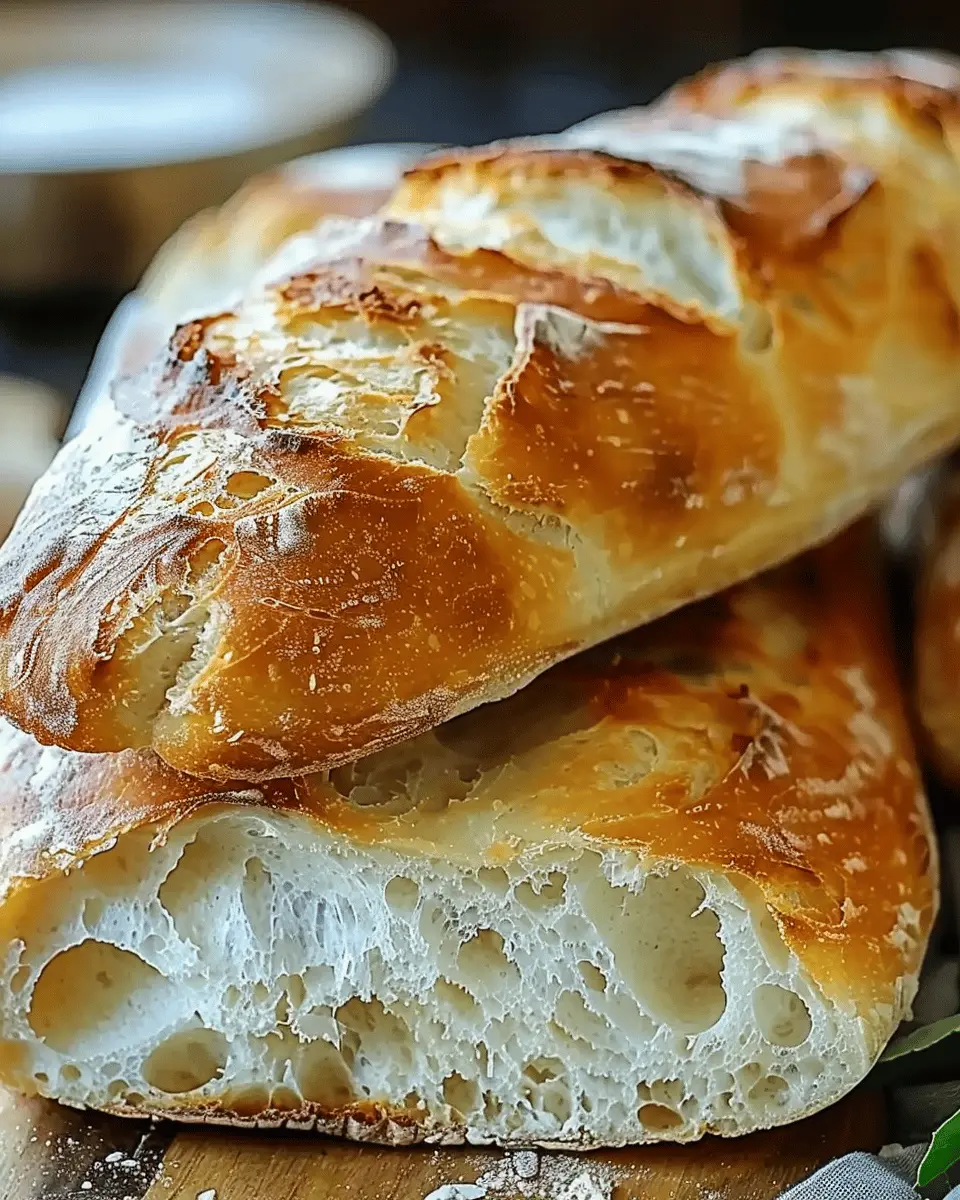
Bake to golden perfection
Your moment has arrived! Carefully place the loaf in the oven (or onto the pizza stone) and bake for about 30-35 minutes, or until it’s golden brown and sounds hollow when tapped. Enjoy the delightful aroma filling your kitchen as you wait.
Once done, let it cool on a wire rack. Slicing into your masterpiece is the ultimate reward, and you’ll see why homemade crusty Italian bread is worth every minute spent. Happy baking!
Variations on Crusty Italian Bread
Herb-Infused Crusty Bread
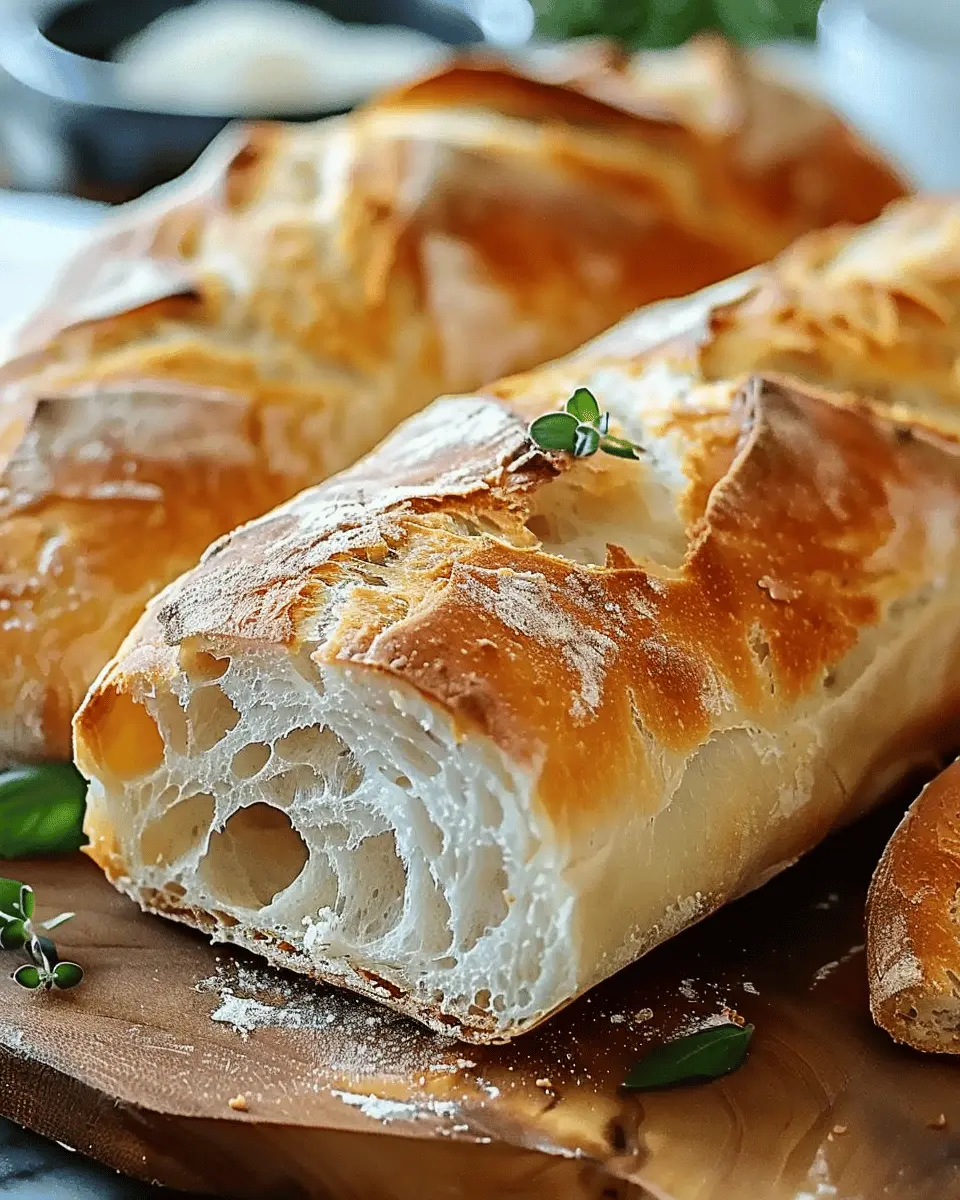
If you’ve ever walked past a bakery and caught a whiff of freshly baked bread, you know how enticing it can be. By adding a blend of herbs to your dough, you can recreate that aromatic experience right in your kitchen. Simply mix in dried oregano, basil, and rosemary into your crusty Italian bread dough. These herbs not only enhance the flavor but also create a delightful aroma as your bread bakes.
Make sure to experiment with the amounts; a teaspoon of each is a great starting point. You can even try adding fresh herbs if you have them! For more inspiration, check out this guide on baking with herbs. The result? A bread that’s perfect for pairing with stews or just slathering with butter.
Olive and Garlic Crusty Bread
Imagine slicing into warm, crusty Italian bread that’s speckled with pieces of savory olives and pungent garlic. To create this delightful variation, fold chopped olives (green or black, depending on your taste) and minced garlic into your dough before the first rise.
Garlic not only adds flavor but also boasts potential health benefits, as noted in various studies, making this version a nourishing option. This olive and garlic crusty bread is amazing as a standalone snack or the perfect accompaniment to a Mediterranean meal. For more details on the benefits of garlic, you might want to check this health article.
Experimenting with these variations can transform your crusty Italian bread experience and elevate your home baking game. So, why not try these out next time? Your friends and family will thank you!
Cooking Tips and Notes for Crusty Italian Bread
When it comes to baking crusty Italian bread, a few best practices can transform your kitchen into a bakery. Let’s dive into some essential tips for achieving that perfect crust!
Best practices for bread baking success
-
Use Quality Ingredients: The foundation of your bread starts with the right flour. Opt for bread flour, which has a higher protein content, to enhance texture and rise. Fresh yeast is also crucial—check that it’s not expired for best results.
-
Hydration Matters: A wetter dough contributes to a more crusty and airy interior. Don’t shy away from adding water, and remember, you can always adjust based on humidity levels.
-
Kneading Technique: Practice your kneading! A well-kneaded dough develops gluten, providing structure. For a fun technique, consider using the “stretch and fold” method to build strength over time.
-
Steam for Stealth: Creating steam in your oven is key for a beautiful crust. Place a pan of water at the bottom of the oven during baking, or mist the oven walls with water before you close the door.
Baking bread can feel intimidating at first, but with these tips, you’ll soon impress friends and family with your crusty Italian bread! For even more inspiration and advice, check out Flour Bakery’s tips on bread baking. Happy baking!
Serving Suggestions for Crusty Italian Bread
When it comes to enjoying your crusty Italian bread, the possibilities are endless! This robust loaf pairs beautifully with a variety of homemade dips that can elevate its flavor and texture.
Pairing with Delicious Homemade Dips
Imagine tearing off a piece of your freshly baked crusty Italian bread and dipping it into a rich, velvety roasted red pepper hummus. The smoky undertones of the peppers complement the bread’s crusty exterior perfectly, creating a deliciously satisfying bite.
Here are some dip pairings to consider:
- Classic Bruschetta: Fresh tomatoes, basil, garlic, and olive oil make for a vibrant topping that adds a refreshing twist.
- Spinach and Artichoke Dip: This creamy dip is a crowd-pleaser that pairs excellently with the hearty texture of your bread.
- Olive Tapenade: A mix of olives, capers, and herbs offers a savory burst of flavor that complements each crusty bite.
And don’t forget about serving it alongside a warm bowl of homemade minestrone soup! The combination of flavors and textures is simply delightful. So, what are you waiting for? Dive into these pairing suggestions and elevate your next bread experience!
Time Breakdown for Crusty Italian Bread
When it comes to mastering the art of crusty Italian bread, understanding the time commitment is key. Here’s a helpful breakdown to guide you through the process:
Preparation Time
Expect to spend about 30 minutes prepping your dough. This includes measuring, mixing, and kneading all those delicious ingredients together.
Rising Time
Patience pays off! Allow the dough to rise for approximately 4 to 6 hours. This long fermentation helps develop the rich flavor and that iconic crust. If you’re short on time, you can go for a shorter rise, but you might miss out on some depth.
Baking Time
Once you’ve let it rise, pop it in the oven for about 30 to 35 minutes. Keep an eye on it—every oven is a little different! Aim for that golden-brown crust, which is what we all love about crusty Italian bread.
Total Time
In total, you’re looking at around 5 to 7 hours, mainly due to the rising time. But don’t worry—it’s mostly hands-off! Just think of all the delicious sandwiches and bruschetta you can make with the final product. So grab your ingredients, and let’s get baking!
For more tips on bread baking, check out resources like The Bread Bakers Guild of America or King Arthur Baking.
Nutritional Facts for Crusty Italian Bread
When indulging in a warm slice of crusty Italian bread, it’s good to know how it fits into your diet. Here’s a concise look at its nutritional profile:
Calories
A typical 1-ounce slice contains approximately 80 calories. This makes it a delightful treat that won’t overwhelm your daily caloric intake.
Carbohydrates
Each serving provides around 15 grams of carbohydrates. These carbs are primarily from flour, giving you that satisfying energy boost perfect for a busy day.
Protein
With about 3 grams of protein per slice, crusty Italian bread offers a modest amount to complement your meals. Pair it with toppings like turkey bacon or chicken ham, and you’ll create a more balanced dish.
Enjoying your homemade bread doesn’t mean sacrificing nutrition. For more information on healthy bread options, check out resources from Healthline or The Whole Grain Council.
FAQ About Crusty Italian Bread
What can I do if my bread doesn’t rise?
If your crusty Italian bread isn’t rising as expected, don’t panic! Here are some troubleshooting tips:
- Check your yeast: Make sure it’s fresh and active. If in doubt, do a quick test by adding warm water and a pinch of sugar to your yeast. If it bubbles after a few minutes, you’re good to go!
- Temperature matters: Dough rises best in a warm environment. Consider placing it in an oven with just the light on or near a warm spot in your home.
- Kneading technique: Ensure you’re kneading adequately. Under-kneaded dough can lead to poor rise. A good rule of thumb is to knead until the dough is smooth and elastic.
How do I store crusty bread properly?
To keep your crusty Italian bread fresh, store it in a paper bag at room temperature. A cloth bag can also work; just avoid plastic, which can create moisture and lead to a soggy crust. If you want it to last beyond a few days, consider slicing it for easier usage later on.
Can I freeze crusty Italian bread?
Absolutely! Freezing is an excellent way to prolong the life of your crusty Italian bread. Just wrap it tightly in plastic wrap and then place it in a heavy-duty freezer bag. When you’re ready to enjoy it again, simply thaw at room temperature or pop it in the oven for that fresh-baked taste again.
For more tips on storage and freezing bread, check out resources from the Bread Bakers Guild of America and King Arthur Baking. Happy baking!
Conclusion on Crusty Italian Bread
Why baking your own bread is worth it
There’s something truly special about crafting your own crusty Italian bread. The warm aroma wafting through your home, the satisfying crackle of the crust as you slice through—these experiences elevate your cooking game. Not only do you have the chance to customize flavors and textures, but baking your own bread also fosters a sense of accomplishment.
Experimenting with different flours or hydration levels can yield delightful surprises. Plus, homemade bread is free of preservatives found in store-bought versions. So, why not roll up your sleeves and get started? Your taste buds will thank you, and you’ll impress everyone at your next gathering. For tips on bread-making techniques, check out resources from King Arthur Baking or The Fresh Loaf.
PrintCrusty Italian Bread Recipe: Bake Perfect Crust Every Time
Learn how to bake the perfect crusty Italian bread at home with this simple and delicious recipe.
- Prep Time: 20 minutes
- Cook Time: 30 minutes
- Total Time: 1 hour 50 minutes
- Yield: 1 loaf 1x
- Category: Bread
- Method: Baking
- Cuisine: Italian
- Diet: Vegetarian
Ingredients
- 4 cups all-purpose flour
- 1 1/2 cups warm water
- 2 teaspoons active dry yeast
- 1 tablespoon salt
- 1 tablespoon sugar
Instructions
- In a large bowl, mix warm water, sugar, and yeast; let sit until foamy.
- Stir in flour and salt; mix until a dough forms.
- Knead the dough on a floured surface for about 10 minutes.
- Place in a greased bowl, cover, and let rise until doubled, about 1 hour.
- Shape into a loaf and let rise again for 30 minutes.
- Preheat the oven to 450°F (230°C) with a baking stone inside.
- Score the top of the dough with a sharp knife and place in the oven.
- Bake for 30 minutes until golden brown and crusty.
Notes
- For extra crustiness, place a pan of water in the oven while baking.
- Experiment with different flours for varied texture.
Nutrition
- Serving Size: 1 slice
- Calories: 120
- Sugar: 1g
- Sodium: 200mg
- Fat: 1g
- Saturated Fat: 0g
- Unsaturated Fat: 0g
- Trans Fat: 0g
- Carbohydrates: 24g
- Fiber: 1g
- Protein: 4g
- Cholesterol: 0mg
Keywords: Crusty Italian Bread, bread recipe, baking bread, Italian bread