Introduction to Artisan Pizza Dough
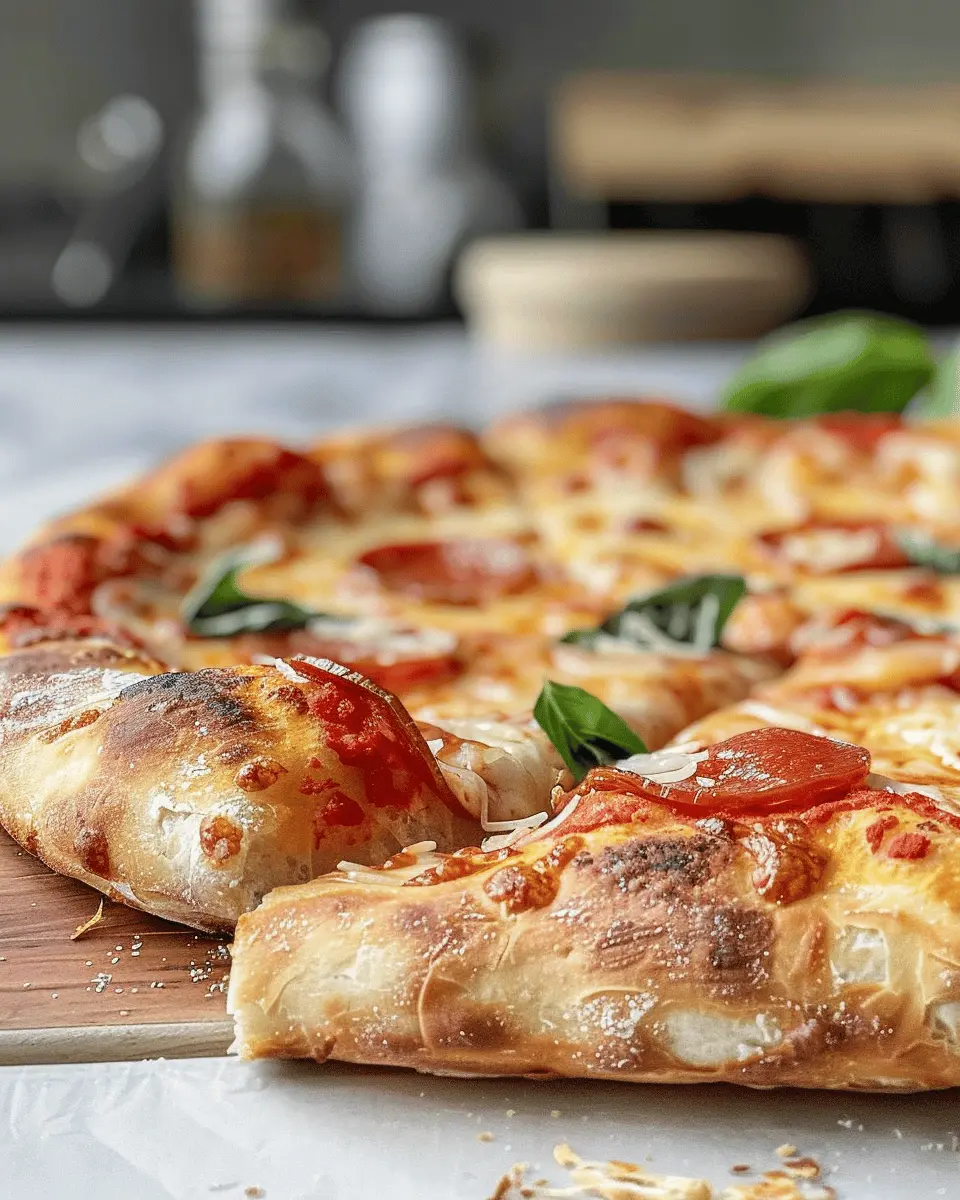
Crafting your own artisan pizza dough at home isn’t just about making a meal; it’s an experience. Picture this: the heavenly aroma of freshly baked dough filling your kitchen, a crust that’s perfectly crispy, chewy, and bubbly. Doesn’t that sound delightful? But why exactly should you consider whipping up your very own artisan pizza dough?
Why Make Your Own Artisan Pizza Dough?
Making your own artisan pizza dough empowers you to take full control of your ingredients. Store-bought options are often loaded with preservatives and artificial flavors. When you prepare your own dough, you can use high-quality ingredients like organic flour and fresh yeast, ensuring a flavor and texture that supermarket versions can’t replicate.
Beyond fresher ingredients, making pizza dough is surprisingly easy and tremendously satisfying. Experts like Ken Forkish, acclaimed for his pizza expertise, suggest that a good dough starts with proper hydration and fermentation. This means you can tweak the recipe to suit your taste, whether you prefer a lighter, thinner crust or a robust, doughier base.
Here’s a fun little fact: did you know that artisanal bread and pizza dough share similar base elements? The science behind dough-making involves fermentation—a process where yeast transforms sugars into carbon dioxide, resulting in that beautiful rise and airy texture. For more on this, Wikipedia offers an excellent overview of yeast fermentation!
Moreover, pizza nights at home can turn into a social event. It’s a fantastic way to bond with friends or family—everyone can personalize their own pizza with toppings of choice, such as turkey bacon, chicken ham, or even a rainbow of vegetables. This hands-on approach fosters creativity and enjoyment, making the meal much more meaningful.
The Joys of Homemade Pizza Dough
Beyond costs savings and customization, there’s something incredibly rewarding about kneading the dough with your hands, waiting as it rises, and ultimately baking it into a masterpiece. Unlike a restaurant where you might feel rushed, at home, you can take your time, perfect your technique, and enjoy the entire process.
In a world where convenience often trumps quality, creating your own artisan pizza dough is a delightful act of culinary rebellion. So roll up your sleeves, gather your ingredients, and let’s embark on this flavorful journey together!
Ingredients for Artisan Pizza Dough
Essential ingredients for the perfect crust
Creating artisan pizza dough that boasts a crispy, chewy, and bubbly crust hinges on a few key ingredients. You’ll want to gather the following:
- All-purpose flour: The backbone of your dough. Look for high-quality flour that can yield a satisfying texture. Bread flour can also work for extra chewiness.
- Water: The hydration level is crucial here. Use lukewarm water (around 100°F) to activate your yeast effectively.
- Yeast: Active dry yeast or instant yeast will do — both are great for a tasty rise.
- Salt: Enhances the flavor and strengthens the dough. Sea salt or kosher salt are excellent choices.
- Olive oil: This adds richness and helps create that delightful crust. Extra virgin olive oil can boost the flavor even further.
Crafting your own artisan pizza dough not only satisfies your taste buds but also enhances your kitchen skills. If you’re curious about more techniques to perfect your pizza, check out resources from the New York Times Cooking or Serious Eats. Enjoy the process—it’s all part of the art!
Step-by-step Preparation of Artisan Pizza Dough
Making the perfect artisan pizza dough can be a delightful experience, especially if you’re ready to embrace the process. Crafting your own dough not only enhances your pizza but also gives you a great sense of accomplishment. Let’s walk through the steps to achieve that crispy, chewy, and bubbly crust you’ve been dreaming of.
Mix and Rest the Dough
To kick things off, gather your ingredients:
- 4 cups of all-purpose flour
- 1 ½ cups of water (about 110°F)
- 1 tablespoon of instant yeast
- 2 teaspoons of salt
In a large mixing bowl, combine the flour and water. You’ll want to mix until just combined – no need to overdo it here! The goal is a shaggy, wet dough. Once mixed, cover it with a damp cloth or plastic wrap and let it rest for about 30 minutes. This resting phase allows the flour to hydrate, making it easier to knead later.
Incorporate Yeast and Salt
After the initial rest, it’s time to add in the yeast and salt. Sprinkle the yeast over the dough and evenly distribute the salt. The salt plays a vital role in flavor and helps to regulate the yeast’s activity.
Mix everything together until the yeast and salt are fully incorporated. You can use your hands or a wooden spoon. If you’re interested in diving deeper into how salt impacts yeast development, check out this article from King Arthur Baking.
Fold and Develop Gluten
Now comes one of the most enjoyable parts of the process: folding! Instead of traditional kneading, you can develop gluten by folding the dough. This technique creates a light yet chewy texture in your artisan pizza dough.
Here’s how:
- Grab a corner of the dough and stretch it outwards.
- Fold it over to the opposite side.
- Rotate the bowl a quarter turn and repeat this folding process.
Do this for about 6-8 folds, resting the dough for 15-minute intervals in between. This method not only simplifies the kneading process but also builds wonderful structure within the dough.
Shape the Dough Balls
Once your dough has developed enough gluten and feels elastic, it’s time to shape it into balls. This step is crucial for the final rise and structure of your pizza crust.
- Turn the dough out onto a lightly floured surface.
- Divide it into equal portions, roughly 8 ounces each.
- Gently shape each portion into a smooth ball by tucking the edges underneath.
Place the balls seam-side down on a floured baking sheet or in a dish, where they can rise. Cover them with a clean kitchen towel. If you’re interested in mastering the shaping technique, check out this visual guide on dough shaping.
Final Resting Phase Before Baking
Finally, it’s essential to allow the artisan pizza dough to rest for the last time. Let your shaped dough balls rise for 1 to 2 hours at room temperature until they have doubled in size.
You can also refrigerate the dough for up to 24 hours if you want to slow down the fermentation process for a deeper flavor. Just ensure you bring it back to room temperature for about 30 minutes before you start stretching and shaping for your pizza.
After this final resting phase, your dough will be ready to stretch, top with your favorite ingredients – perhaps some turkey bacon or chicken ham – and bake to bubbly perfection! There’s nothing quite like the aroma of fresh pizza rising in your oven.
By following these steps, you’ll not only master the art of making artisan pizza dough but also impress your friends and family with your homemade creations. Happy baking!
Variations on Artisan Pizza Dough
Creating the perfect artisan pizza dough is an art form, and the great news is you can make it to suit your dietary preferences! Here are two fantastic variations that will leave your taste buds tingling.
Whole Wheat Artisan Pizza Dough
For those looking to boost their nutrient intake without sacrificing flavor, whole wheat artisan pizza dough is your best friend. Using whole wheat flour instead of all-purpose flour adds fiber, vitamins, and a lovely nutty flavor.
- Ingredients:
- 2 cups whole wheat flour
- 1 cup all-purpose flour
- 1 ½ cups warm water
- 2 teaspoons active dry yeast
- 1 teaspoon salt
- 1 tablespoon olive oil
- Tip: This variation yields a slightly denser crust. Consider topping it with fresh ingredients like arugula, olive oil, and even some grilled chicken for a deliciously balanced meal.
Make sure to let your dough rise properly to achieve that delightful chewy texture we all crave!
Gluten-Free Artisan Pizza Dough
If gluten is off the menu for you, fear not! A gluten-free artisan pizza dough can be just as crispy and bubbly as its traditional counterpart. Many gluten-free flours are available, but a blend of almond flour and tapioca flour often yields the best results.
- Ingredients:
- 2 cups almond flour
- ½ cup tapioca flour
- 1 teaspoon baking powder
- ½ teaspoon salt
- 2 eggs
- 1 tablespoon olive oil
- Pro Tip: The dough can be a bit stickier, so be sure to dust your surface with extra almond flour while shaping. Top it with roasted veggies and some turkey bacon for a guilt-free indulgence.
For more tips on making the most of these variations, check out resources from the Gluten Intolerance Group and Whole Grain Council. Happy pizza-making!
Cooking Tips and Notes for Artisan Pizza Dough
Creating the perfect artisan pizza dough is an art, and achieving that ultimate crust texture is key. Here are some friendly tips to elevate your pizza-making game.
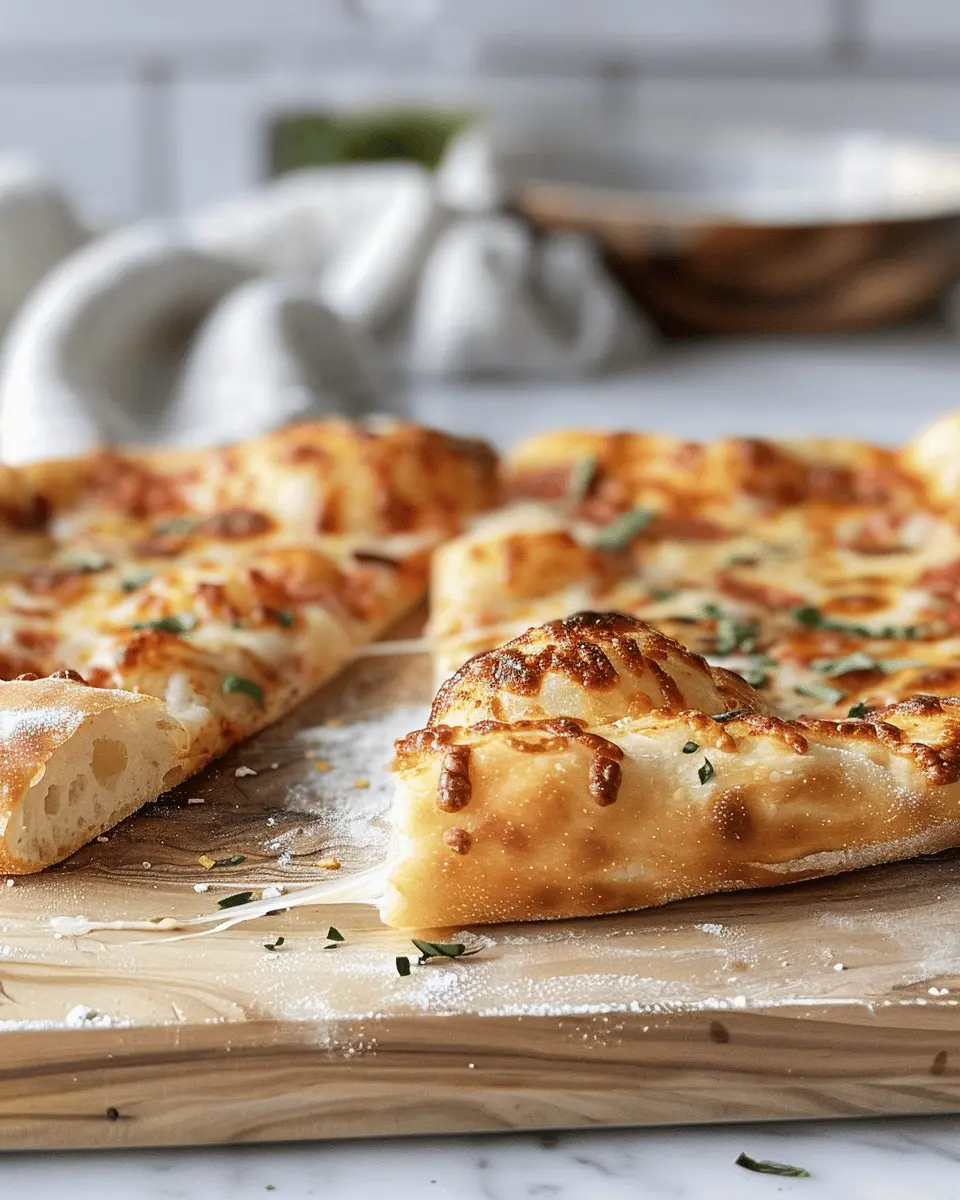
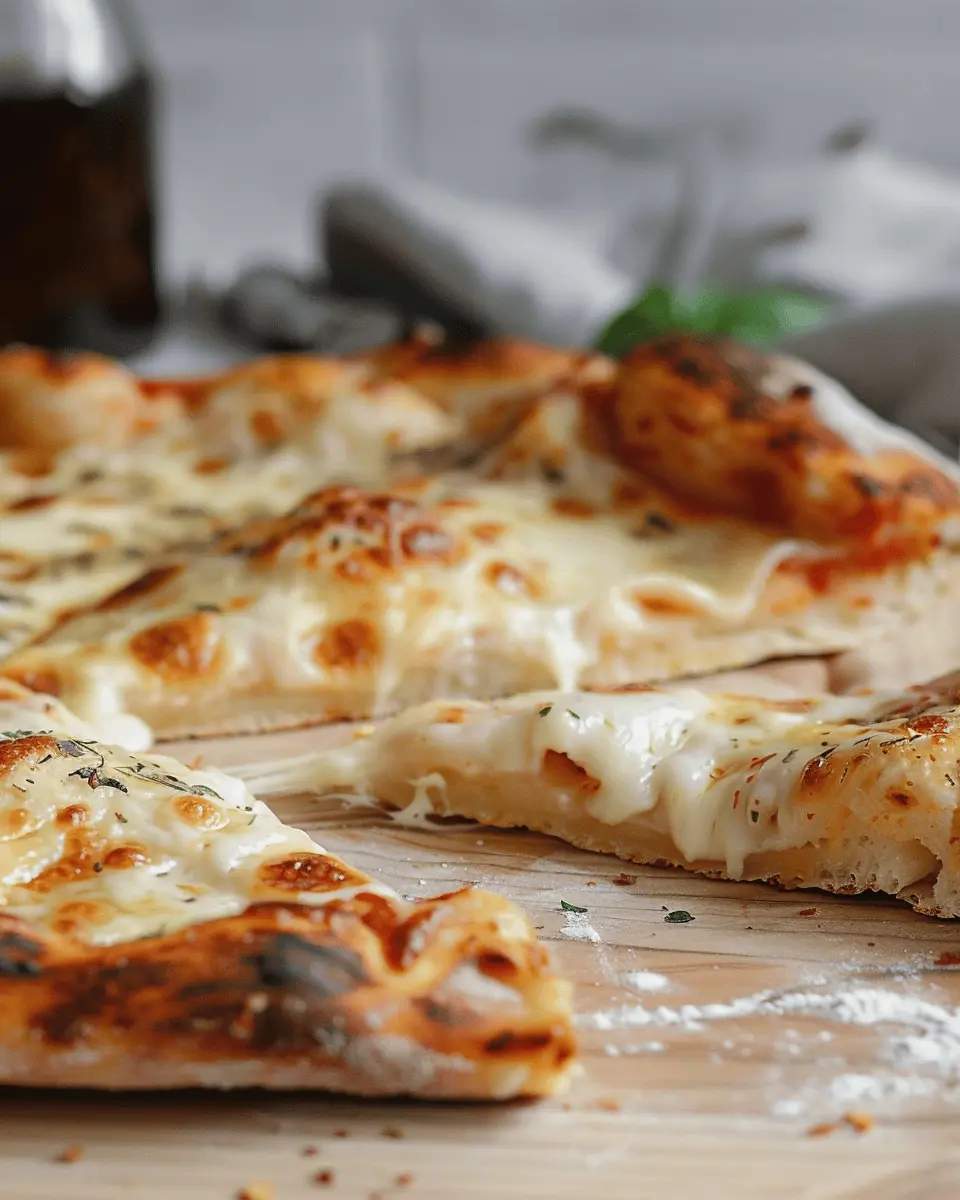
Achieving the Perfect Crust Texture
-
Hydration is Key: A higher water-to-flour ratio can lead to a chewier, airier crust. Consider starting with 65-70% hydration for a great balance.
-
Kneading Method: Instead of traditional kneading, try the stretch and fold technique. This method develops gluten slowly, producing a more flavorful dough.
-
Resting Period: Let your dough rest longer. Cold fermenting in the fridge for 24-48 hours will develop complex flavors and that coveted bubbly texture.
-
Oven Temperature: Your oven should be preheated to the highest setting, ideally around 500°F (260°C). A pizza stone or steel can help achieve a crispy bottom by retaining heat efficiently.
For further reading on dough fermentation techniques, check out Serious Eats. With these tips, you’ll be well on your way to crafting a delightful, homemade artisan pizza dough that impresses your friends and family!
Serving Suggestions for Artisan Pizza Dough
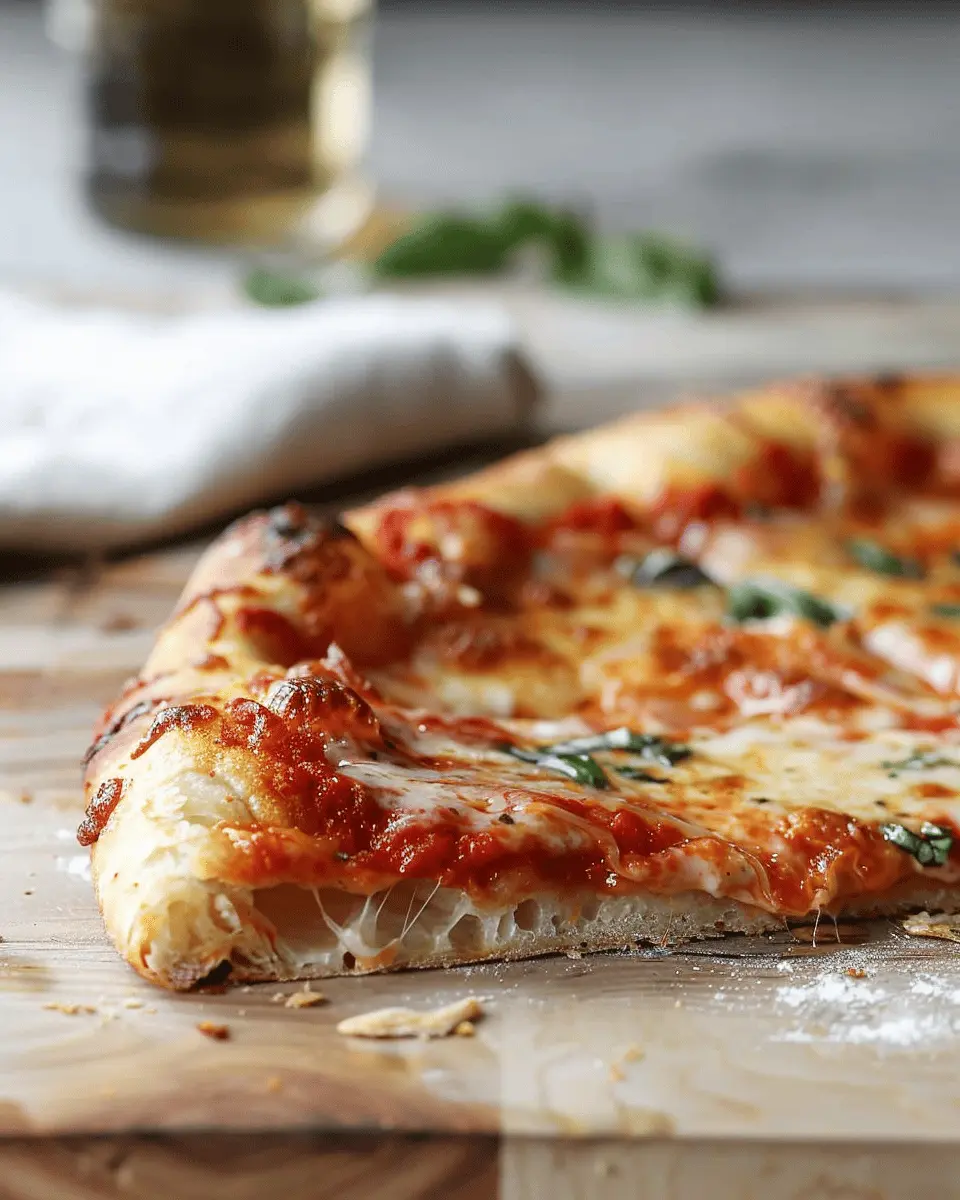
Classic Margherita Pizza
Nothing celebrates the beauty of artisan pizza dough quite like a classic margherita pizza. With just a few simple ingredients, you can highlight the rich texture and flavor of your homemade crust. Top your dough with a light layer of crushed tomatoes, fresh mozzarella, and a generous sprinkle of basil. Drizzle some extra virgin olive oil before baking for that perfect finish! It’s a delightful combination that feels both rustic and sophisticated. This recipe is sure to impress your friends and family or simply make your weeknight dinners feel more special.
Gourmet Topping Ideas
Ready to take your pizza to the next level? Consider these gourmet topping combinations that pair wonderfully with your artisan pizza dough:
- Turkey Bacon and Spinach: A savory twist that adds flavor without excess grease.
- Chicken Ham and Mushroom: A meaty option that brings umami richness.
- Roasted Peppers and Feta: For a Mediterranean flare, go bold with colors and types of cheese.
Feel free to mix and match! Explore more unique topping ideas from sources like Serious Eats for inspiration. Creating your own signature pie allows you to embrace the art of pizza making while savoring every bite. Happy baking!
Time Breakdown for Artisan Pizza Dough
Preparation time
Making artisan pizza dough is a breeze! You’ll need about 15-20 minutes to mix and knead your ingredients. This is the time where you bring your flour, water, yeast, and salt together to create that perfect dough consistency.
Rising time
The real magic happens during the rising phase. Set aside about 1 to 1.5 hours for your dough to rise. This step allows the yeast to work its wonders, giving your crust that delightful chewy texture and flavorful profile. A longer fermentation can enhance the taste even more, so feel free to let it rise longer if you can!
Baking time
Once your dough has risen, it’s time to heat things up! Baking typically takes about 10-15 minutes at a high temperature. This is where you’ll achieve that crispy, bubbly crust that we all love.
Total time
In summary, expect around 1.5 to 2 hours from start to finish, including rising and baking. With just a little patience, you’re on your way to enjoying a fresh, homemade artisan pizza dough creation that’s sure to impress at your next gathering. For some helpful insights on baking techniques, check out resources like King Arthur Baking or Serious Eats.
Now, who’s ready to grab that pizza peel and get started?
Nutritional Facts for Artisan Pizza Dough
Calories per serving
When it comes to enjoying artisan pizza dough, it’s good to be mindful of the nutritional profile. On average, one serving (approximately 100 grams) contains around 250 calories. Of course, this may vary based on your specific recipe and the ingredients you choose.
Nutritional benefits
This delightful artisan pizza dough isn’t just about flavor; it also offers some nutritional benefits:
-
Whole Grains: If you opt for whole wheat flour, you’ll boost your intake of fiber and essential nutrients. Fiber is crucial for digestive health.
-
Protein: Flour contributes some protein, which is essential for muscle repair and growth. Pair it with protein-rich toppings like Turkey Bacon or Chicken Ham for a balanced meal.
-
Versatility: Artisan pizza dough is a blank canvas! You can add a variety of toppings—vegetables, lean meats, or even low-fat cheese—to enhance both flavor and nutritional value.
For more on the importance of whole grains, the Whole Grains Council emphasizes their role in a healthy diet. So next time you whip up artisan pizza dough, you’ll know you’re not just indulging, but also making a smart choice!
Looking for more tips on healthy toppings? Explore options like grilled vegetables and lean proteins to complement your pizza experience.
FAQs about Artisan Pizza Dough
How can I store leftover pizza dough?
Storing leftover artisan pizza dough is super easy! First, sprinkle a little flour on the dough to prevent it from sticking to itself. Then, wrap it tightly in plastic wrap or place it in an airtight container. In the refrigerator, it can last up to 3 days. If you want to keep it longer, consider freezing it. Just remember to let it come to room temperature before you use it again, as this helps reactivate the yeast for a nice, fluffy crust.
Can I freeze artisan pizza dough?
Absolutely! Freezing artisan pizza dough is a fantastic way to prep ahead for those pizza nights. You’ll want to follow the same wrapping method as above to ensure it’s airtight. To use, simply thaw it in the refrigerator overnight or on the kitchen counter for a few hours. This gives the dough time to rise a bit again, so you’ll have that perfect chewy texture when you bake. According to sources like King Arthur Baking, properly stored dough can keep for up to three months in your freezer.
What toppings work best with artisan pizza?
When it comes to toppings, the sky’s the limit! Here are a few ideas that complement the crunchy, chewy goodness of artisan pizza dough:
- Cheeses: Fresh mozzarella, goat cheese, or sharp cheddar add a delicious richness.
- Meats: Try chicken ham or turkey bacon for a savory punch.
- Veggies: Fresh basil, arugula, or roasted red peppers make great choices.
- Sauces: A homemade marinara or a drizzle of olive oil can elevate your pie.
For more topping inspiration, check out Serious Eats for some crowd-pleasing combinations that are sure to impress! Remember, the key is to balance flavors and textures for that delicious artisan experience.
Conclusion on Artisan Pizza Dough
Embracing homemade pizza for a healthier lifestyle
Choosing artisan pizza dough transforms not just a meal but also your approach to eating healthily. By making your dough, you control the ingredients, avoiding unwanted additives and preservatives often found in store-bought options. This means you can opt for whole grains, organic flours, or even gluten-free varieties, tailoring it to your dietary needs.
Moreover, whipping up a pizza at home is a fun way to connect with friends or family. Picture the laughter and creativity as everyone selects their toppings, from fresh vegetables to lean proteins like Turkey Bacon or Chicken Ham. Homemade pizza is about more than just food; it’s a delicious way to celebrate companionship! If you’re looking for a great starting point, consider this comprehensive guide on the benefits of homemade meals. The next time a pizza craving hits, remember: artisan pizza dough is just a mix, knead, and rise away!
PrintArtisan Pizza Dough: The Best Crispy, Chewy, Bubbly Crust Recipe

Learn how to make artisan pizza dough that results in a crispy, chewy, and bubbly crust that’s perfect for your homemade pizzas.
- Prep Time: 15 minutes
- Cook Time: 15 minutes
- Total Time: 1 hour 30 minutes
- Yield: 2 pizzas 1x
- Category: Pizza
- Method: Baking
- Cuisine: Italian
- Diet: Vegetarian
Ingredients
- 4 cups all-purpose flour
- 1 1/2 cups warm water
- 2 teaspoons active dry yeast
- 2 teaspoons salt
- 1 teaspoon sugar
- 2 tablespoons olive oil
Instructions
- In a bowl, combine warm water, sugar, and yeast. Let it sit until foamy.
- In a large mixing bowl, combine flour and salt.
- Add the yeast mixture and olive oil to the flour, mixing until a dough forms.
- Knead the dough on a floured surface for about 10 minutes until smooth and elastic.
- Place the dough in a greased bowl, cover it, and let it rise until doubled in size, about 1 hour.
- Preheat your oven to 475°F (245°C).
- Roll out the dough to your desired thickness and shape.
- Transfer to a pizza stone or baking sheet, add toppings, and bake for 12-15 minutes.
Notes
- For a better crust, allow the dough to ferment in the fridge for up to 24 hours.
- Using a pizza stone helps achieve a crispy bottom.
Nutrition
- Serving Size: 1 slice
- Calories: 250
- Sugar: 1g
- Sodium: 300mg
- Fat: 6g
- Saturated Fat: 1g
- Unsaturated Fat: 4g
- Trans Fat: 0g
- Carbohydrates: 45g
- Fiber: 2g
- Protein: 8g
- Cholesterol: 0mg
Keywords: artisan pizza dough, crispy pizza crust, chewy pizza dough, bubbly pizza crust